step by step installation of centos 5.5 in vmware...
TRANSCRIPT

Step by Step installation of CentOS 5.5 in VMware Workstation 7.1
After we’ve downloaded the ISO, we need to start VMware Workstation. Go to File – New – Virtual
machine (the following window will popup)
Choose Typical and click next.
Choose I will install the operating system later, and click next.

In the Select a Guest operation System window, select Linux and Other Linux 2.6.x kernel 64-bit as
Version and click next.
In the specify Disk Capacity window select 30 GB for the maximum disk size (although 20 GB will be
sufficient also.

In the Ready to create virtual machine window click on Customize Hardware.
Remove all unnecessary attributes (like the floppy drive), add extra memory to the VM (I gave 1536
MB) and change the Network adapter from NAT to bridged (internal network) and click add to add a
extra NIC.

Select Network Adapter and click Next
In the Network Adapter Type window choose custom and select the NIC which faces to the external
network. Click Finish

In the Ready to Create Virtual Machine window click customize hardware again
Select the CD/DVD drive and connect ISO image file by browsing to the right image. When selected
click Advanced.
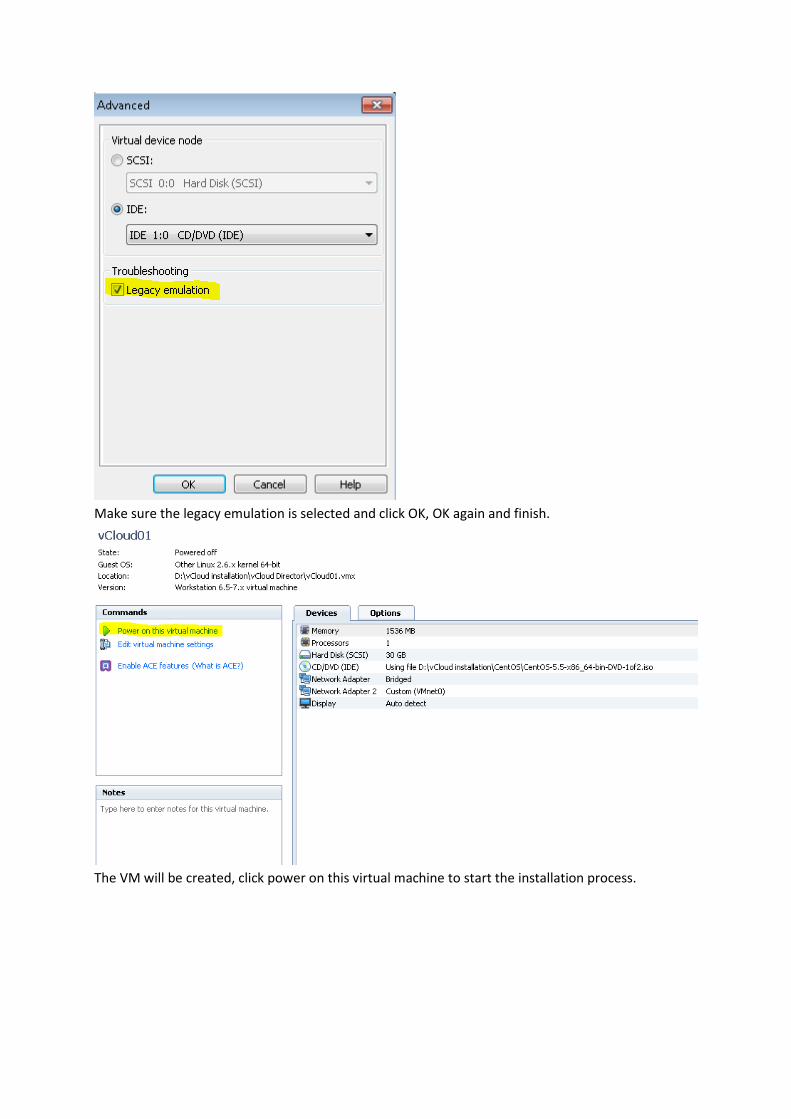
Make sure the legacy emulation is selected and click OK, OK again and finish.
The VM will be created, click power on this virtual machine to start the installation process.

When the install screen appears press enter.
Select Skip and press enter.

Click next
Select your language and click next

Select the appropriate keyboard and click next
Click Yes to initialize the drive to go on with the installation

Select Review and modify partitioning layout and click next.
Click Yes (only if you’re sure about it ;-))

Make sure / (root) has enough space (20 GB is more then enough) and click next
Click Next

Make sure both network cards are active on boot and edit them so they are in the right network, also
make sure IPv6 is deselected.
After editing click OK and after both cards are edited set the Hosname, Gateway and DNS settings
and click Next
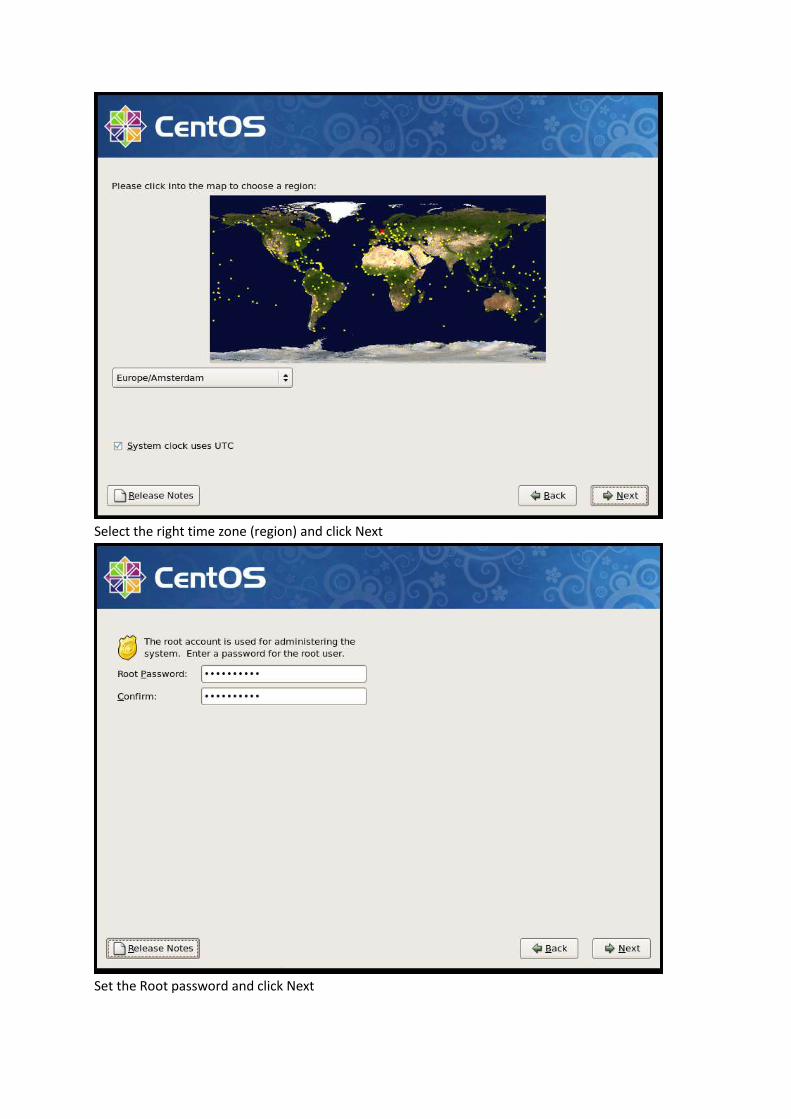
Select the right time zone (region) and click Next
Set the Root password and click Next

Click Next
Click Next to begin the installation

After installation click Reboot
After Reboot perform the following steps: click Forward

Disable the firewall. And click Forward

Disable the SELinux setting and click Forward
Enable the Network Time Protocol and click Forward

Create a user and click Forward
In the Sound Card window click Forward and in the Additional CDs windows click finish

Login to CentOS with the credentials you’ve just created
After you’ve logged in a popup shows that Updates are available. Click view Updates

Put the Root password in and press enter
Click Apply updates

After a while click Import key
After installation of the updates click Reboot now

After reboot log back in and then right click on the VM and press Install VMware Tools
Right click the VMware Tools file and click Extract To

Select the Extract in folder and click Extract
Open a terminal and do a su ( to become root) and enter the Password and press enter

Use the cd command to navigate to vmware-tools-distrib folder. Run ./vmware-install.pl to install the
vmware tools (you have to enter several times to install)
After installation type reboot and press enter to reboot the VM. When the VM is restarted log in to
CentOS. We’re now ready to install Oracle.