queen’s grant high school
TRANSCRIPT
Queen’s Grant High School
A Parent’s Guide to Schoology
Table of Contents:
Signing Up for an Account
Add a Child to an Already Existing Account
Logging In
Schoology Homepage
Viewing Your Child's Activity
Your Account Activity
Messaging Through Schoology
Notifications & Requests
Overdue Area
Changing Your Notification Settings for Overdue Material
Deleting Your Schoology Account
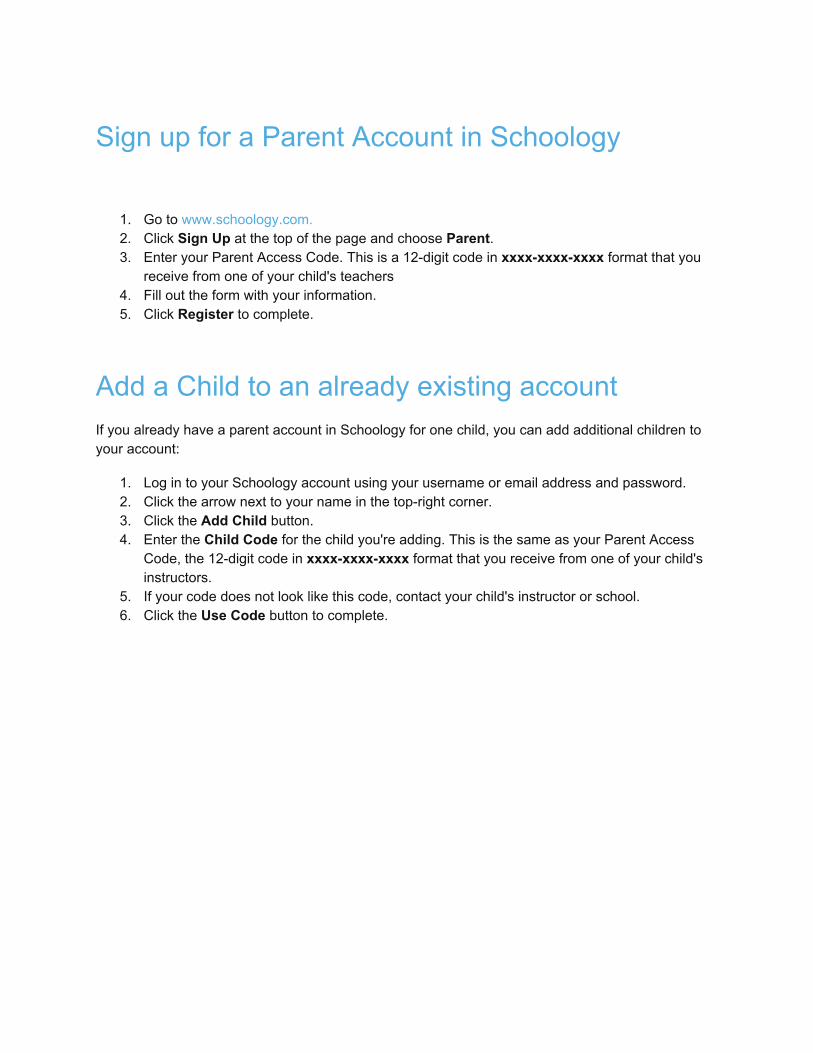
Sign up for a Parent Account in Schoology
1. Go to www.schoology.com. 2. Click Sign Up at the top of the page and choose Parent. 3. Enter your Parent Access Code. This is a 12-digit code in xxxx-xxxx-xxxx format that you
receive from one of your child's teachers 4. Fill out the form with your information. 5. Click Register to complete.
Add a Child to an already existing account If you already have a parent account in Schoology for one child, you can add additional children to your account:
1. Log in to your Schoology account using your username or email address and password. 2. Click the arrow next to your name in the top-right corner. 3. Click the Add Child button. 4. Enter the Child Code for the child you're adding. This is the same as your Parent Access
Code, the 12-digit code in xxxx-xxxx-xxxx format that you receive from one of your child's instructors.
5. If your code does not look like this code, contact your child's instructor or school. 6. Click the Use Code button to complete.
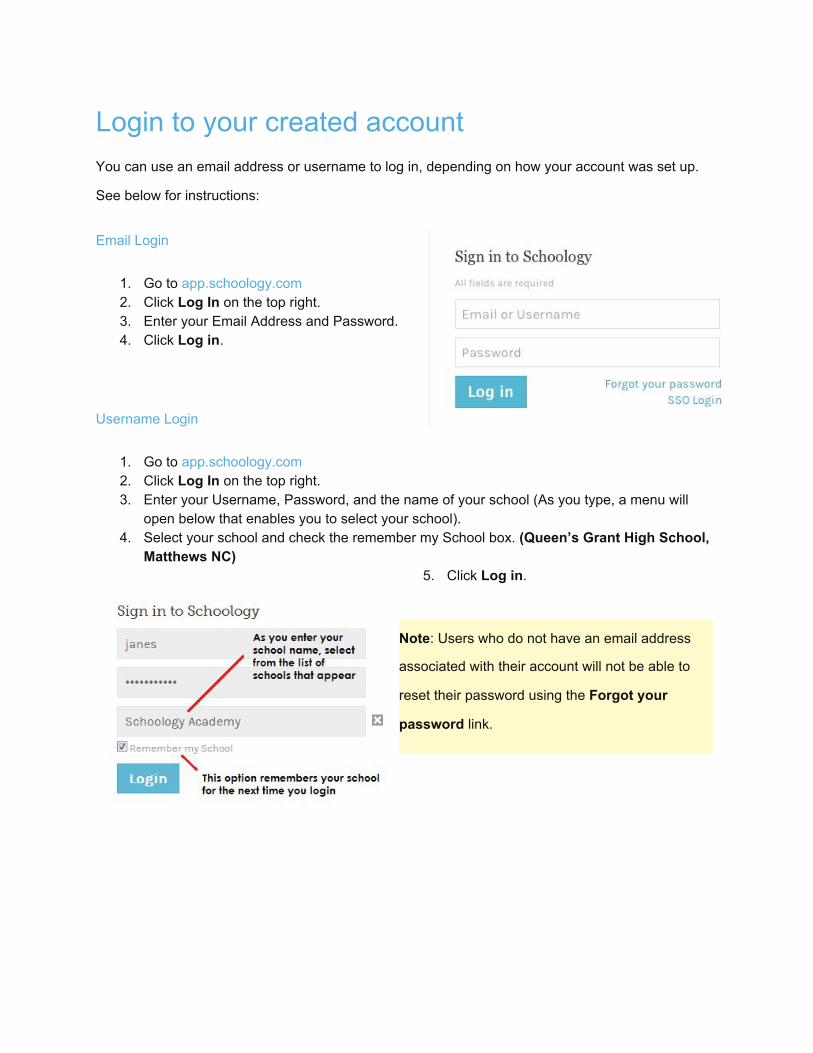
Login to your created account You can use an email address or username to log in, depending on how your account was set up.
See below for instructions:
Email Login
1. Go to app.schoology.com 2. Click Log In on the top right. 3. Enter your Email Address and Password. 4. Click Log in.
Username Login
1. Go to app.schoology.com 2. Click Log In on the top right. 3. Enter your Username, Password, and the name of your school (As you type, a menu will
open below that enables you to select your school). 4. Select your school and check the remember my School box. (Queen’s Grant High School,
Matthews NC) 5. Click Log in.
Note: Users who do not have an email address
associated with their account will not be able to
reset their password using the Forgot your
password link.

Schoology Homepage: Your Parent account compared to your child's Schoology information Having a Parent account in Schoology is actually like having two accounts:
1. Your personal account, with your own name and information; 2. Your Child Activity view. From here, you can view Schoology from your child’s perspective,
and see what he or she sees, and receive updates about his or her activity.
Start by clicking on the arrow in the upper-right corner, next to your name, and then select your child’s name to switch into his or her account. The check mark in this drop-down menu indicates which account you are currently viewing.

Student Activity View Viewing Your Child’s Activity
Click on the arrow in the upper-right corner of your account and select your child’s name to view his or her activity.
From the home page, you can quickly view specific information about your child’s Schoology activity:
1. The Student Activity area in the center of the page displays your child’s recent submission, grade, and attendance information.
2. Toggle into Enrollments in the same area to see a list of the courses your child is currently enrolled in, along with his or her grade. If the teacher or administrator has chosen not to display the grade while the course is in progress, you will see a blank value (as in the grade column above). Click on an individual course to see grades received on assignments, tests, and discussions from that course. Depending on the permission settings in place at your school, you may not be able to view content posted by other members of the course.
3. The Recent Grades/Attendance area lists graded assignments, tests/quizzes, discussions, and attendance marks for the student. To view the graded items and attendance marks, click the item you'd like to view.
4. The Overdue section displays a list of course materials your child did not turn in by the due date.
5. The Upcoming section displays a list of your child’s upcoming assignments and events. 6. Courses: You can see a list of your child’s current courses. Click the course name to
navigate to the course profile as your child views it. Depending on the permission settings in

place at your school, you may not be able to view content posted by other members of the course.
7. Groups: You can see a list of your child’s Schoology Groups. Groups can be used for a variety of activities, from school projects to extracurricular teams and clubs. Depending on the permission settings in place at your school, you may not be able to view content posted by other members of the group.
8. Grades: Depending on the settings in place at your child’s school, this menu provides access to view the following:
1. Grade Report: Review your child’s grades for all courses. 2. Mastery: If your child’s school aligns materials to standard and learning objectives,
you can check your child’s progress in this area. 3. Attendance: Review your child’s attendance for all courses.
9. Calendar: Click to view a calendar of past and upcoming events and assignments. To find out more information regarding a particular event, place your cursor over the title. A clue tip displays with the event type (assignment, test/quiz, event), the event's course or group, and the student's name. Click the event to display profile information in a pop-up window.
Note: There is no Messages icon in the Child Activity view. Messages to your child are private and are not viewable from a parent account.

Your Account Activity To return to your Schoology account, click the down-facing arrow and select your account. If you have linked accounts in Schoology, you will see the school associated with each account under your name.
While toggled into your personal account, you'll see your own name in the top right corner. Your personal account homepage displays activity related to any courses and groups in which you are enrolled, a well as school information from the school with which you are associated.
Recent Activity Similar to your child's Activity Summary, your Recent Activity area displays updates from the school, courses, and groups in which you participate. You can filter the Recent Activity feed by clicking the drop-down menu (labeled Most Recent) to the right of the Recent Activity heading.
Upcoming On the right column of the Recent Activity page,the Upcoming area displays a list of impending events and due dates for graded items in the school, courses, and groups in which you're enrolled. To view more details about the item, click the item name from the list.
Calendar Access your personal calendar by clicking the calendar icon in the top navigation of your personal account. Your personal calendar displays personal events you've created for your account, as well as events and assessments for the school, courses, and groups in which you're enrolled.
Create Personal Events
The quickest way to create an event is from the Recent Activity area on your Home Page. Simply locate the Event icon in the upper-middle area of the page. You may also create an event from your personal calendar.
To add an event:
1. Select the Calendar icon at the top of your Home Page. 2. Click the date to which you'd like to add the event. 3. Fill out the Event form. 4. Choose an RSVP option (depending on the settings in place at your school, this option may
not be available to you). 5. Click Create to complete.
RSVP Options
● Only Invitees Can RSVP—Event remains personal until you invite people you’re connected with.
● Anyone Can RSVP—Make the event public (available to anyone). ● Disabled—Requires no RSVP. This event will only be viewed by you. ● Attach a File, Link, or Resource (optional). ● You can also Enable Comments at the bottom left (optional).

Edit an event
To modify an existing event:
1. Click the event to modify. 2. Click the Edit Item button. 3. Once you've made changes, click the Save Changes button.
Delete an event
To delete an event:
1. Click the event you'd like to delete. 2. Click the View Item button. 3. Click the gear to the right of the event profile. 4. Select Delete to complete the process.
Note: If you choose to create an Event with an invitation from your Home Page, you must invite everyone manually.

Messages Depending on the settings in place at your school, you may be able to exchange messages with teachers at your school. The right side of the top navigation bar displays to Messages icon (envelope icon).
Note: There is no Messages icon in the Child Activity view. Messages to your child are private and are not viewable from a parent account.
Check New Messages
When you have a new message in your inbox, the Messages icon on the top menu displays a new number.
1. Navigate to your Messages area by clicking on the icon in the top menu. 2. New messages are indicated with a blue dot. Click the message you'd like to read. 3. To reply to a message, write in the Message area, then click Send.
Check Sent Messages
1. Navigate to your Messages area by clicking the icon in the top menu and click View All. 2. Click the Sent Messages tab. 3. To read a message, click a message you've sent in the past. 4. To send a message, click the +New Message button. 5. Fill out the form, and click Send to complete.

A recipient name automatically populates when you enter a teacher's name into the To field. If you're not able to send a message to certain users, talk to your teacher for further guidance.
Note: If you have linked accounts in Schoology, we recommend that you check for new messages in each of your linked accounts.
Notifications & Requests Also on the right side of the navigation bar you have the bell icon displaying Notifications & Requests. Any time someone sends you a message, wants to connect, or does something that pertains to you or your affiliations, it will be made easily accessible in the top right corner of your screen. Everything is chronologically ordered and clickable to make managing them simple.
Below, a parent receives an invitation to join group:

Overdue Area The Overdue area on the right side of the screen shows to course members a list of materials that they did not turn in on time. It displays for students who have at least one item that they did not submit before the posted due date. Overdue materials are listed from most- to least-overdue, with the most-overdue item at the top.
Can I See My Child’s Overdue Coursework? Parents see a list of all of their child’s overdue assignments, discussions, and quizzes or tests in the same Overdue area on the right side of the screen.
You may also choose to receive an email each time your child misses a due date by enabling the Overdue Submissions Email feature in your Notifications area, and the Parent Email Digest also includes a list of your child’s overdue materials if your System Admin has enabled that feature.

Notifications Settings To receive email or text notifications for overdue materials, enable the Course Materials Overdue option in the Notifications area. Select On in the dropdown menu to receive notifications for overdue materials in all your courses, or select Custom and choose the courses for which you want overdue notifications.
Note: Students and parents receive only one notification per late material regardless of how long it remains unsubmitted.

Deleting Your Schoology Account Teachers, students, and parents with Basic Schoology accounts can delete their accounts by navigating to https://app.schoology.com/settings/account/action?delete while logged into the account they'd like to delete. Deleting an account removes all submissions, resources, and content associated with the account, and neither the account nor the items can be restored.