using windows movie maker russell smith, technology facilitator, north edgecombe high school
TRANSCRIPT

Using Windows Movie Maker
Russell Smith,Technology Facilitator,
North Edgecombe High School

How canWindows Movie Maker be used in the classroom?
Have students create digital storytelling projects combining images, text, and music
Film students while conducting experiments or performing re-enactments of literary works or historical events
Edit images and footage in order to reflect a creative vision
Film and edit reports or features featuring students and topics relevant to the school

Windows Movie Maker:Menus
File Menu Edit Menu View Menu Tools Menu Clip Menu Play Menu Help Menu

Windows Movie Maker:File Menu “New Project”--Creates a new movie file “Open Project”—Opens a previously created project file “Save Project”—Allows you to save a project file “Save Project As”—Allows you to save a project file under a different name “Save Movie File”—Allows you to publish a movie as a watchable video file “Capture Video”—Allows you to import video footage into Movie Maker “Import into Collections”—Allows you to import still images or sound files into the project “Properties”—View the properties of the project file “Exit”—Exit the program

Windows Movie Maker:Edit Menu Undo—Undo the last action taken Redo---Redo the last action that was undone Cut---Delete a film clip, image, or sound file Copy---Copy a film clip, image, or sound file Paste---Paste a copied film clip, image, or sound file Delete---Delete a film clip, image, or sound file Edit Title---Change the text of a title Select All---Select all objects in a collection Rename---Change the name of an object in a collection Clear Timeline---Delete all objects on the video timeline Browse for Missing File---Search folders for a missing file

Windows Movie Maker:View Menu Storyboard/Timeline---Choose between the storyboard or timeline layout for editing footage and images Zoom In (Page Down)---Zoom in closer on the editing timeline Zoom Out (Page Up)---Zoom out on the editing timeline Zoom to Fit (F9)---Adjusts the view of the editing timeline to a default position Preview Monitor Size---Changes the size of the preview screens for film clips and images Toolbar---Choose whether you want to view the toolbar or not Status Bar---Choose whether you want to view the status bar or not Task Panel---Choose whether you want to view the task panel or not Collections---View the different sets of collections that are available Thumbnails---View small representations of film clips and still
images Details---View the details concerning a film clip, image, or sound file
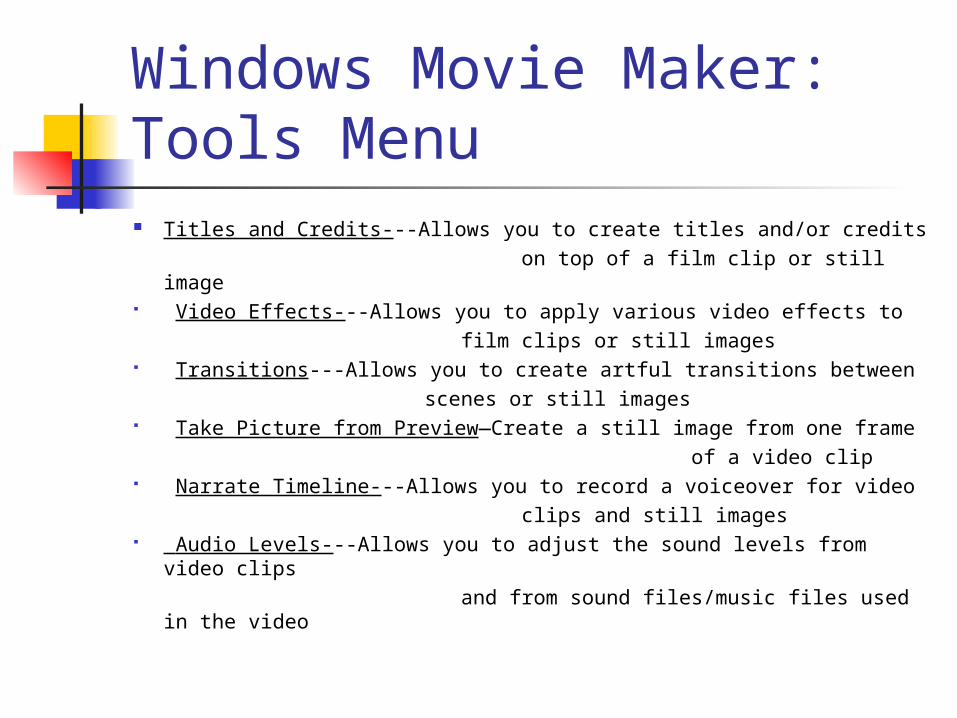
Windows Movie Maker:Tools Menu Titles and Credits---Allows you to create titles and/or credits on top of a film clip or still image Video Effects---Allows you to apply various video effects to film clips or still images Transitions---Allows you to create artful transitions between scenes or still images Take Picture from Preview—Create a still image from one frame of a video clip Narrate Timeline---Allows you to record a voiceover for video clips and still images Audio Levels---Allows you to adjust the sound levels from video
clips and from sound files/music files used in the video
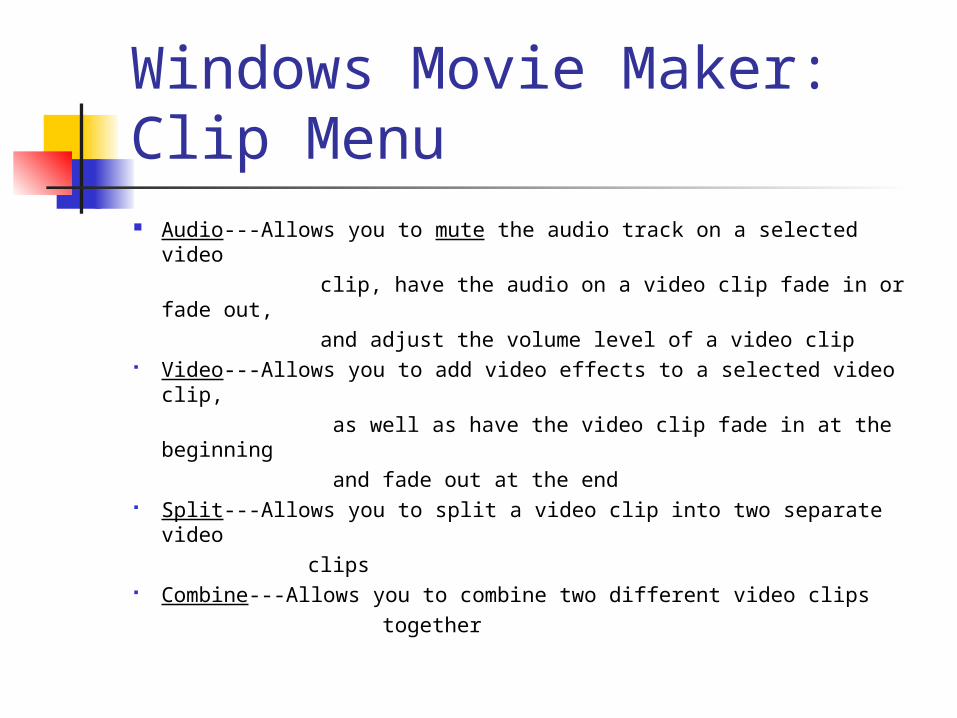
Windows Movie Maker:Clip Menu Audio---Allows you to mute the audio track on a selected video clip, have the audio on a video clip fade in or fade out, and adjust the volume level of a video clip Video---Allows you to add video effects to a selected video clip, as well as have the video clip fade in at the beginning and fade out at the end Split---Allows you to split a video clip into two separate video clips Combine---Allows you to combine two different video clips together

Windows Movie Maker:Play Menu Play Clip Stop Play Timeline Rewind Timeline Back Forward Previous Frame Next Frame

Importing Files into your Movie Maker Project
You are also able to import files such as image files and audio files for use in Movie Maker.
• Click on the “File” Menu.• Go down to the “Import Into Collections” option.• Browse to the folder where the file(s) you wish to import are located; select file(s), and click “Import”.• The files you selected will be imported into your Movie Maker project.• Acceptable File formats include: .jpg; .gif; .png; .bmp; .wav; mp3; .avi; .mpg

Creating Your Video:Arranging Your Media ClipsThere are two ways that you can arrangeimage files, audio files, and video clipsin Movie Maker: • Storyboard View: Used primarily for projects using still images; allows the user to lay out images frame by frame• Timeline View: Features a Video track, an Audio/Music track, and a Title Overlay track; Used primarily for incorporating music and text into a movie project
On the Timeline View, the Zoom tools (that look like magnifying glasses with a “+” and “-” sign) allow you to get a closer or farther-out view of the details of the media clips. This will assist you with editing your clips.

Creating Your Video:Arranging Your Media Clips In order to place your images, sound clips, or video
clips onto a storyboard or timeline, drag the item from the collection pane onto the storyboard/timeline
If you decide to remove a media clip from the storyboard/timeline, you can remove it by selecting the item and going to the “Edit” menu and selecting “Cut”, or by right-clicking on the item and selecting
“Cut” This will not delete the clip from your “Collections” pane; it will still be available for use.
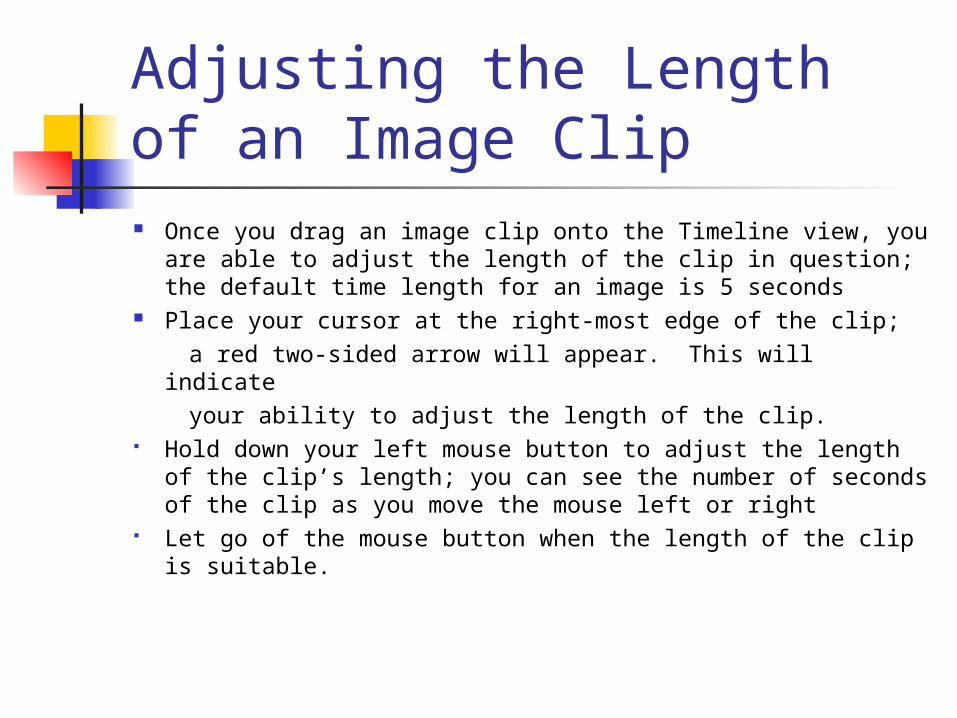
Adjusting the Length of an Image Clip Once you drag an image clip onto the Timeline view,
you are able to adjust the length of the clip in question; the default time length for an image is 5 seconds
Place your cursor at the right-most edge of the clip; a red two-sided arrow will appear. This will indicate your ability to adjust the length of the clip. Hold down your left mouse button to adjust the length
of the clip’s length; you can see the number of seconds of the clip as you move the mouse left or right
Let go of the mouse button when the length of the clip is suitable.

Importing Video Footageusing a Flip Video camera Turn on the Flip Video camera and plug it into
an available USB port. The FlipVideo interface will launch, allowing
you to view any footage that has been recorded by the FlipCamera.
Select the clip(s) that you want to use in Movie Maker.
In the FlipVideo interface, go to the “File” menu and select “Export to”. Click the option on the following screen titled “Export”.

Importing Video Footageusing a Flip Video camera, continued
Choose the folder on the computer that you want to export the video clip to. Click “OK”.
Once the video clip has been saved on your computer, you can import the footage into Movie Maker.
In Movie Maker, go to the “File” menu and select “Import into Collections”. Browse to the folder
where the video clip was saved, and click “Import”.
The video clip will be imported and (most likely) split into several smaller clips that can be placed on the Video track of the timeline view.
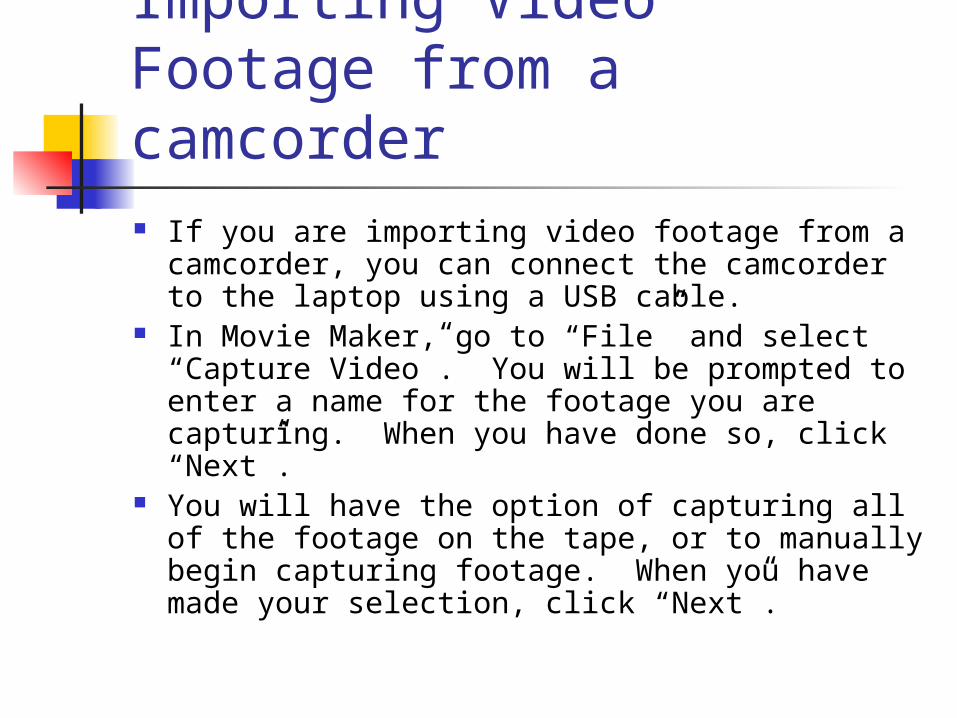
Importing Video Footage from a camcorder If you are importing video footage from a
camcorder, you can connect the camcorder to the laptop using a USB cable.
In Movie Maker, go to “File” and select “Capture Video”. You will be prompted to enter a name for the footage you are capturing. When you have done so, click “Next”.
You will have the option of capturing all of the footage on the tape, or to manually begin capturing footage. When you have made your selection, click “Next”.
Importing Video Footage from a camcorder, continued If capturing the footage manually, press the
button labeled “Start Capture”. When you have captured all of the video footage that you want, click the button labeled “Stop Capture”, and then click the button labeled “Finish”.
The video footage, once captured, will then be imported into the “Collections” pane of Movie Maker. The footage will be split into numerous smaller clips that will make it easier to edit. Each clip can be placed onto the “Video” track of the Timeline view in any order.

Adjusting the Length of an Audio Clip To place an audio clip into your movie project,
drag the desired clip from the Collections pane to the “Audio/Music” track on the Timeline. The audio clip can be a voiceover, music, or a combination of both.
The audio clip will have a predetermined length, dependent on how long the clip is. You can adjust the length of the audio clip that you wish to use in your project.
You can adjust your audio clip to where you want the clip to begin, and where you want it to end.

Adjusting the Length of an Audio Clip To adjust the length of an audio clip, place
your cursor at either the beginning or the end of the clip when it is on the “Audio/Music” track on the Timeline. A red double-sided arrow will appear, indicating your ability to adjust the length of the clip.
Hold down the left-mouse button while adjusting the length of an audio clip. When you have adjusted the beginning and/or ending point of your audio clip,
let go of the mouse button.
Changing the volume of audio on a media clip You are able to adjust the audio level of a media
clip that you are using in your project. Select the media clip whose audio level you wish
to adjust. Go to the “Clip” menu at the top and select the “Audio” option.
From this point, you are able to mute the audio of this clip, have the audio fade in or fade out, and adjust the overall volume level of the clip.
You can also adjust a clip’s audio levels by right-clicking on the clip and using the menu that appears.

Balancing Audio Levels from a video clip and an audio clip There will probably be an occasion where you
will want to add music to a video clip that you have filmed. During these times, you might want to adjust the audio levels of the video clip and that of the music so that one is more prominent than the other.
To adjust the balance of the audio levels of these sources, go to the “Tools” menu at the top of the screen and select “Audio Levels”.
From this point, you will be able to adjust the balance of audio levels from the video and the audio sources to your satisfaction.

Adding Text to your Movie To add text to your movie, go to the “Tools” menu at
the top of the screen and select “Titles and Credits”. You will have several options of ways to add text to
your movie:
Add title at the beginning of the movie Add title before the selected clip in the timeline Add title on the selected clip in the timeline Add title after the selected clip in the timeline Add credits at the end of the movie

Adding Text to your Movie When adding text to your movie, you will have
a wide variety of options for the ways that the text will be presented:
Titles with one line (ex: Fly In, Top Left; Typewriter; Ticker Tape; News Banner; Scroll, Perspective; Flashing; Zoom Out; Zoom In; etc.) Titles with two lines, i.e. a subtitle (ex: Fade, In and Out; Fly In, Fades; Fly Out; Fly In, Fly Out; Moving Titles, Layered; etc.) Credits (ex: Scroll, Up Stacked; Zoom, In; Fade, In and Out; Scroll Up, Side-By-Side; Mirror; Exploding; etc.)

Adding Text to your Movie Once you have chosen the style of the text
that you want to place into your movie, you will need to enter the text.
Click the link titled “Edit the title text”. Type in the text that you want to appear. Be
aware that there is a limit to the number of characters you can enter at a time.
To change the font, size, and color of the text, click the link titled “Change the font, text, and color”.

Editing the Text of your Movie When editing the text of your movie, you will be able to select the following:
Font Format (Bold, Italics, Underline) Color of the text Color of the background (if applicable) Text is left-, center-, or right-justified Transparency of the text Size of the text
When you are satisfied, click the link titled “Done, add title to movie”.

Adding Video Effects Select the desired media clips that you want to add video effects to
by clicking them with your mouse. Go to the “Tools” menu at the top of the screen and select “Video
Effects”. The “Collections” pane will be replaced by the “Video Effects” pane.
From here you can choose from a wide selection of effects that you can add to your media clips (images and video clips only).
Drag the video effect directly onto the media clip to add the effect. You can preview the video effects in the viewer screen on the right
side of Movie Maker. To remove video effects from a media clip, right-click on the clip, choose “Video Effects” from the provided menu, and click the
“Remove” button on the following menu to remove the video effect.
Adding Video Transitions Select the desired media clips that you want to add video
transitions to by clicking them with your mouse. Go to the “Tools” menu at the top of the screen and select
“Video Transitions”. The “Collections” pane will be replaced by the “Video
Transitions” pane. From here you can choose from a wide selection of transitions that you can place between your media clips (images and video clips only).
Drag the video transition directly between the media clips to add the transition.
You can preview the video transition in the viewer screen on the right side of Movie Maker.
To remove a video transition between media clips, right-click on the transition (located on the “Transition” track on the timeline), right-click with your mouse, and select “Cut” or “Delete” from the menu that appears. The transition will be removed from the timeline.

Navigating in Movie Maker
To get back to the “Collections” pane, look at the top central of the Movie Maker screen and you will see a drop-down menu. From here, you will be able to navigate between the “Collections” pane, “Video Effects” pane, and “Video Transitions” pane.

Saving Your Movie File Once you have successfully created your movie, you will want
to “publish” the movie so that it can be viewed by others. Go to the “File” menu at the top of the screen and select
“Save Movie File”. The next screen will prompt you to choose the location to
where the movie file will be saved. (You will probably want to save the movie on your computer.) Click “Next” to continue.
Enter the title for your movie. Select the location on your computer where your movie file
will be saved and click “Next”. You will probably want to save the movie file at the best
quality for playback. Click “Next”. The movie will begin to be saved. The longer the movie is, the
more time it will take to be saved. Once the movie has been saved, it will be available for
playback. Click “Finish” to view your movie!