techknow april 2012 edition
DESCRIPTION
This edition of TechKnow highlights Spring Cleaning in your course.TRANSCRIPT

Tips on creating a great course
How to customize the Course
Menu Bar
How to add a Banner
How to organize your Course
Menu
Welcoming Jane Strother to DE
DE Training Schedule
DE Spring II Schedule
Is it time for a change with your Blackboard course? Like everything else in life,
your courses need some occasional “sprucing” up. A great way to do this is by
setting aside a time to do some within your course.
Below are a few tips/ideas to help you get star ted:
Make sure your Course Menu is organized (this will greatly help your
students find items that they need). If needed, add a course divider in the Course Menu to separate different types of information.
Make sure all “Old” or “Unused” course menu buttons are removed or
hidden from student view. For example: If you have two Discussion Board buttons, delete one. This will eliminate unnecessary clutter in a course.
Make announcements within a course short and to the point. Only post
important items. Students will not read through pages of announcements!
Make your course “appealing” to the eye! Feel free to add graphics that
correspond with your material to content areas. Also, a simple banner on the Homepage can add a lot to the visual appeal of a course.
Make your course menu buttons visually appealing by customizing them.

How to customize Course Menu buttons:
1. From the Control Panel select Customization
2. From the drop-down select Style
3. Choose either Text or Button - the following example is of buttons
4. Select the Enlarge icon next to the Button Library to customize buttons 5. Select button (Can choose button type, button shape, and button color) 6. At the bottom of the page click Submit.
How to add a Banner:
1. From the Control Panel select Customization
2. From the drop-down select Style
3. Under Select Banner (#5), select Browse My Computer next to New Banner Image.
4. Once you have located your banner, select Submit.
Banners can be text or a picture. This banner will be one of the first visuals your students see upon opening Blackboard so it can be a first great impression for the rest of the course. The best format to upload a banner is .JPEG or .PNG. Also, the ideal dimensions for a banner image are: Height: 50—120 pixels Width: 400—650 pixels (Please note that all resizing will need to be done outside of Blackboard and then uploaded again once finished).
How to customize your Course Menu:
Having a logically organized Course Menu can make a “good” course into a “great” course! An organized course menu will eliminate a lot of unnecessary emails from students regarding where to locate information.
To organize your Course Menu buttons, simply select the arrow icon to the side of the button and drag it to place it elsewhere within the Course Menu.
Blackboard also offers Course Menu dividers and subheaders to further organize your Course Menu.
1. From the Add Menu Item button on the Course Menu bar, select Create Subheader or Create Divider from the drop-down menu.
2. If you choose the Create Subheader, you will be asked to title the subheader
3. The subheader or divider will appear at the bottom of the Course Menu. To move the header or divider, simply click the arrow icon to the side and drag it to place it elsewhere within the Course Menu.
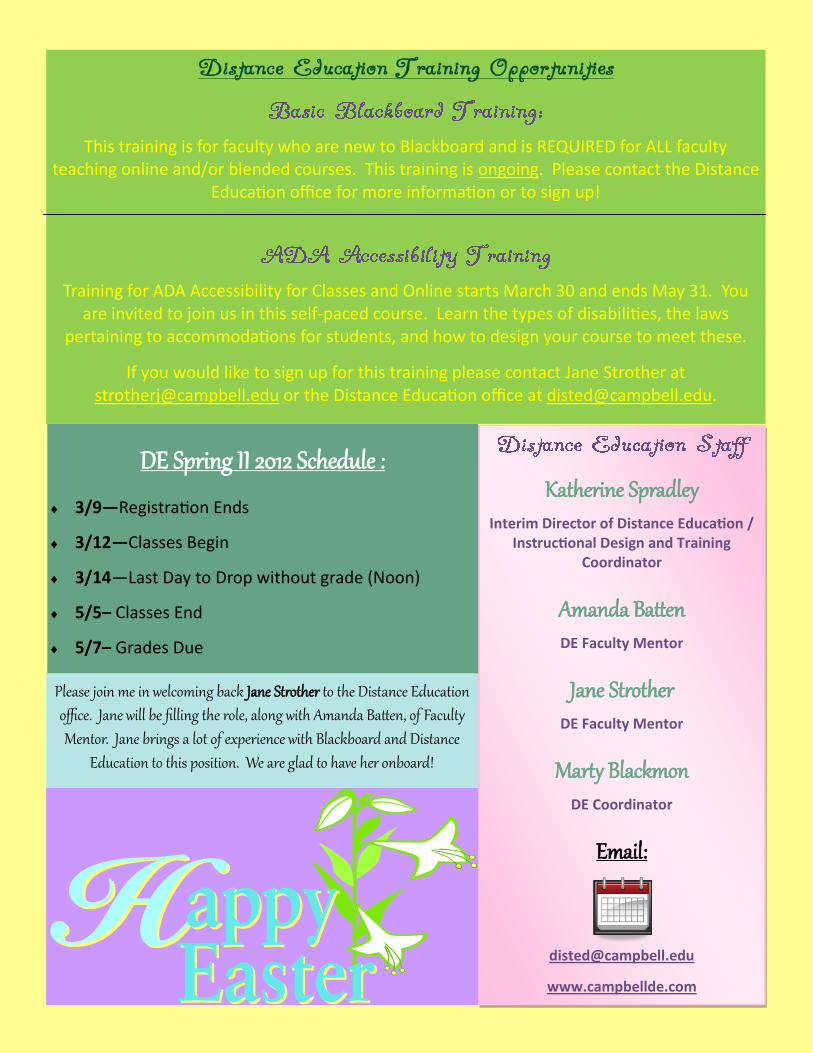
This training is for faculty who are new to Blackboard and is REQUIRED for ALL faculty teaching online and/or blended courses. This training is ongoing. Please contact the Distance
Education office for more information or to sign up!
Training for ADA Accessibility for Classes and Online starts March 30 and ends May 31. You are invited to join us in this self-paced course. Learn the types of disabilities, the laws
pertaining to accommodations for students, and how to design your course to meet these.
If you would like to sign up for this training please contact Jane Strother at [email protected] or the Distance Education office at [email protected].
Katherine Spradley Interim Director of Distance Education /
Instructional Design and Training Coordinator
Amanda Batten DE Faculty Mentor
Jane Strother DE Faculty Mentor
Marty Blackmon DE Coordinator
Email:
www.campbellde.com
DE Spring II 2012 Schedule :
3/9—Registration Ends
3/12—Classes Begin
3/14—Last Day to Drop without grade (Noon)
5/5– Classes End
5/7– Grades Due
Please join me in welcoming back Jane Strother to the Distance Education
office. Jane will be filling the role, along with Amanda Batten, of Faculty
Mentor. Jane brings a lot of experience with Blackboard and Distance
Education to this position. We are glad to have her onboard!